Before Receiving Your Sintratec Kit
There are a few things you can do before receiving your Sintratec Kit:

Computer
You will need a computer with the following specs:
One free USB Port
64bit Windows 7 or later
Internet Connection
One free USB Port
64bit Windows 7 or later
Internet Connection

Tools
Make sure you have the following tools readily available before starting the assembly:
Scissors
Allen Wrench
Power Screwdriver (recommended)
Scissors
Allen Wrench
Power Screwdriver (recommended)

Powder
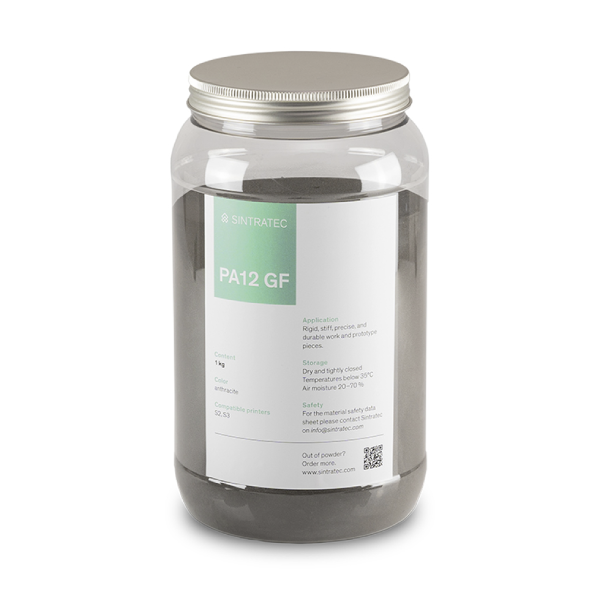
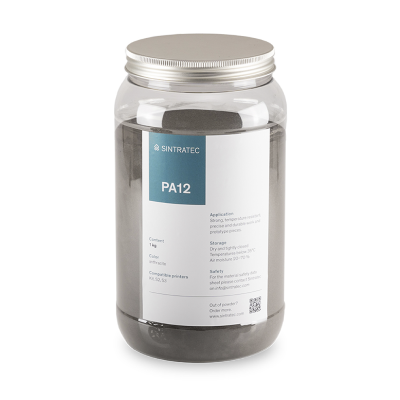
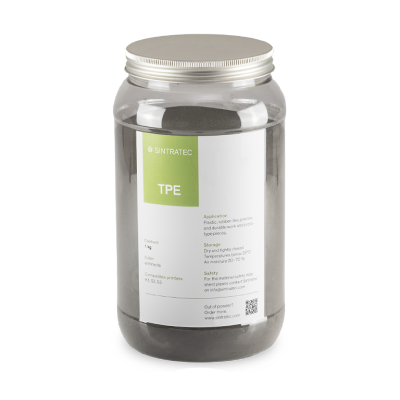
2 Liters of Sintratec Powder come included with your Kit. This will get you started but to make sure
you don’t run out of powder, you may buy more in our Shop.
you don’t run out of powder, you may buy more in our Shop.

Health & Protection
To handle the Sintratec Kit and its powder safely you will need:
Laser Safety Glasses (Included in Sintratec Kit)
Latex Gloves
Dust Filter Masks
Laser Safety Glasses (Included in Sintratec Kit)
Latex Gloves
Dust Filter Masks
We recommend to regularly check our Shop for new products like powders and accessories.
Assembly
Please download the Assembly Guide from our Customer Portal. You will need it to assemble your Kit. There are also photos available for every step. The assembly takes approximately 4 days for one person and should be done in the following order:

1. Best Practice
2. Door
3. Base
4. Core
5. Lamp
6. Hat
7. Electronics
8.Initial Commissioning
Please read the Best Practice Document before you start to assemble. In the folder Pictures you’ll find helpful images for every step of the assembly.
We recommend you regularly check for updated versions of the assembly guide in the Customer Portal.
Hardware Overview


Hardware Detail
The Sintratec Kit has two main parts; the Core and the Casing. The Core contains all main components of the Kit and is inserted into the Casing. The Casing provides heat insulation and acts as thermal barrier between the Core and the environment. Both parts can easily be separated for maintenance.
The Core
The Core consists of the Body and the Hat. While the Body contains most of the mechanical parts, the Hat contains the electrical components, the optical components and the actuators. Both Body and Hat are thermally separated by a heat insulation.
The Core Body

The laser sintering process takes place in the Core Body. There is a blade coater moving horizontally to apply powder. There are two powder platforms moving vertically. The 3D parts get printed on the left platform whereas the reservoir of new powder is on the right platform. To the left of the printing platform there is a container for excess powder. For each layer to be sintered, the reservoir platform moves one layer up, the print platform moves one layer down and the coater applies the new powder layer from right to left, dropping the excess powder into the excess powder container. At the bottom of the excess powder container there is a hatch to easily extract the excess powder post printing. IR lamps at the top of the Core Body heat up powder surface together with a heating coil.
The Core Hat

The controlling of the printer is done from within the Core Hat. Inside you will find the heart of the printer, the mainboard and the galvanometer laser scanner system. Three motors placed inside the Core Hat actuate the platforms and the coater.
The laser beam from Sintratec’s diode laser gets shaped by optics and is deflected by the two mirrors of the galvo-scanner onto the print platform below.
Two LEDs on the left side of the front panel indicating the status of the heating elements, a system reset button is situated on the right. The laser safety switch on right most side of the front panel can be used to manually turn the laser off, additionally a LED on the key switch indicates wether the laser is currently powered.
There is a power entry socket at the back side of the printer as well as both a USB and a SD Card Socket. An emergency shut down button can be found on the right side of the printer.
The Casing

The casing insulates the Core and acts as a thermal barrier between the Core and the user. Because a thermal equilibrium around 145°C is needed for the laser sintering process an efficient heat insulation is needed. There is a window in the door to allow the user to see inside the casing and observe the laser sintering process. The door can be opened and closed and can be locked with two latches at the right side of the printer. The door triggers a laser safety switch to turn the laser OFF whenever the user is opening the door. For easy maintenance the Core can be lifted out of the Casing.
Maintenance
Every now and then you should service your printer to keep the printing quality high and extend the life span of your Sintratec Kit.

Remove all powder residues from your Kit
Remove all powder from inside the printer and empty the overflow bin. If you are using a vacuum cleaner make sure you a are utitilizing one rated for powder vacuuming. From time to time unmerge the core and the casing of your Kit for full cleaning access.

Clean the rails and the wheels
Make sure that no powder is on the rails and the wheels are clean before you start a print. Use a brush to clean the wheels and the rails.

Clean the laser glass
Prevent the laser glass from fogging up by cleaning it before you satert your print with a cloth. You will need to replace it after a few prints, check our Shop.


